Your car’s sleek paint might steal the show, but faded car trim can drag down its whole look. Those plastic or rubber pieces—around windows, bumpers, or mirrors—often turn gray and dull under the sun’s harsh rays. Restoring them isn’t just about vanity; it’s about bringing your vehicle back to life and keeping it looking new. Ready to revive your car trim to stunning glory? This guide walks you through simple, effective steps and maintenance tips to make it happen. Let’s get started.
Why Car Trim Fades Over Time
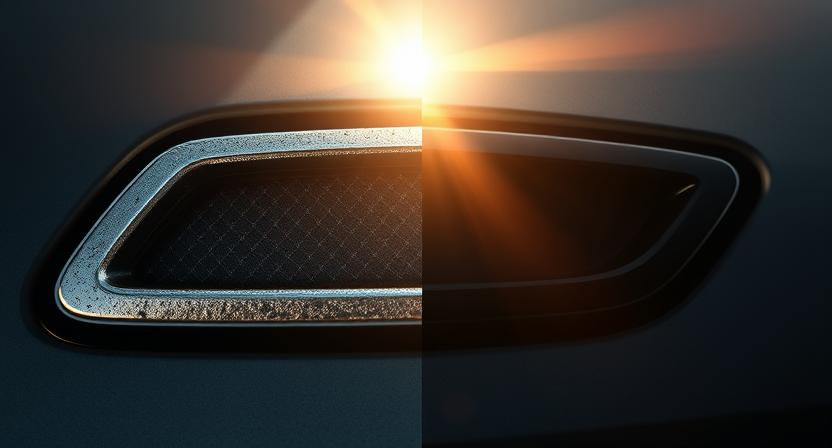
Car trim doesn’t stay black and shiny forever. UV rays break down the plastic or rubber, stripping away color and leaving a chalky finish. Weather—rain, snow, salt—adds to the damage, while road grime and improper cleaning can speed up the fade. Understanding these culprits is the first step to fighting back. With the right approach, you can turn back the clock and keep that fresh-off-the-lot vibe alive.
Step 1: Clean the Surface Thoroughly
Before reviving your car trim, start with a clean slate. Dirt and grease can block restoration efforts, so grab a mild soap and water mix. Use a soft sponge or microfiber cloth to scrub the trim gently—avoid harsh brushes that might scratch. Rinse well and dry with a clean towel. This prep ensures whatever you apply next sticks properly, setting the stage for a stunning transformation.
Step 2: Restore with the Right Products
Now, the magic happens—restoring that faded car trim. You’ve got options here:
- Trim Restorer: Specialty products like gels or sprays designed for plastic and rubber can bring back deep black color. Apply with a cloth, let it soak in, and wipe off excess.
- Heat Gun Method: For a DIY fix, lightly heat the trim with a heat gun (low setting) to release natural oils—test a small spot first.
- Black Shoe Polish: A quick hack—dab on with a rag for instant darkening, though it’s not as long-lasting.
Pick a method that fits your budget and time. A good restorer can make your car trim pop with new-life glory in minutes.
Step 3: Protect Against Future Fading
Restoration is half the battle—protection is the other. UV rays and weather will fade your car trim again if you don’t shield it. Apply a UV-protectant spray made for automotive plastics after restoring. It acts like sunscreen, blocking rays and sealing in that revived look. Reapply every few months, especially if your car lives outdoors. This step locks in the stunning results for the long haul.
Tools and Supplies You’ll Need
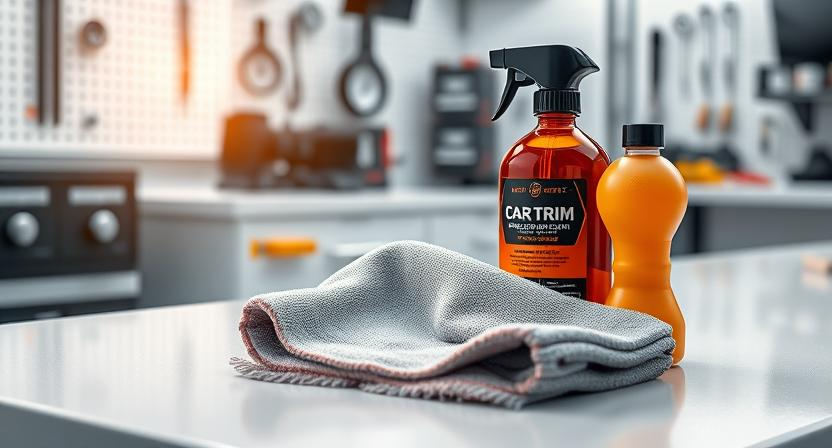
Reviving car trim doesn’t require a pro shop—just the right gear. Stock up on microfiber cloths for cleaning and applying products. A mild soap and bucket handle the wash, while a trim restorer or protectant spray does the heavy lifting. A heat gun is optional for DIY enthusiasts. Keep these handy, and you’re set to bring your car trim back to its prime with ease.
How Often Should You Restore?
Timing matters for lasting glory. Clean your car trim monthly to keep grime from building up—more often if you drive dusty roads. Restore it every three to six months, depending on sun exposure and wear. Protection sprays can stretch that timeline—apply them quarterly for a low-effort shield. Regular care keeps fading at bay, so your trim stays stunning without constant redo’s.
Maintenance Tips to Keep It Looking New
Consistency turns a one-time fix into a lasting win. Here’s how to maintain your car trim:
- Wash Gently: Use mild soap, not harsh detergents that strip color.
- Avoid Abrasion: Skip rough sponges—microfiber is your friend.
- Park Smart: Shade or a garage cuts UV damage big-time.
- Quick Wipe-Downs: Dust it off weekly to stop grit from settling.
These habits ensure your car trim doesn’t just revive—it thrives, holding onto that new-car shine.
Common Mistakes to Dodge
Even the best intentions can falter. Avoid these slip-ups when working on your car trim:
- Overheating: Too much heat from a gun can melt plastic—go low and slow.
- Skipping Prep: Restoring over dirt traps grime in—clean first.
- Cheap Products: Low-quality restorers fade fast—invest in trusted brands.
Steer clear of these, and your path to stunning trim stays smooth and effective.
Benefits of a Revived Trim

Restoring your car trim isn’t just cosmetic—it’s practical. A sharp, black finish boosts curb appeal, making your ride look cared-for and premium. It also protects the material; faded trim can crack or degrade faster, costing more to replace. Plus, a revived exterior can lift resale value—buyers notice details. The payoff is a vehicle that shines with glory inside and out.
DIY vs. Professional Restoration
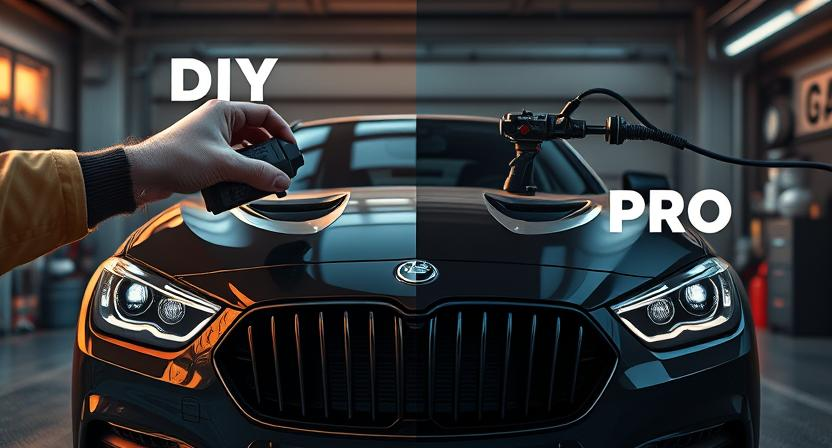
Can’t decide between tackling it yourself or calling a pro? DIY is budget-friendly—restorers and protectants cost ₹500-₹1,500, and you control the process. It’s satisfying, too, seeing your car trim transform with your own hands. Professionals, though, bring precision and high-end products, charging ₹3,000-₹10,000 for a flawless job. If your trim’s badly damaged or you’re short on time, they’re worth it. Either way, the result is stunning new glory.
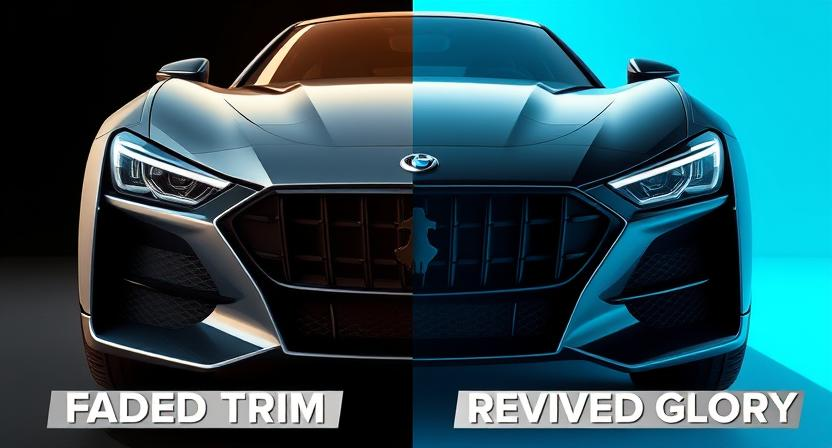
Real-World Results: Before and After
Picture this: your car’s window trim, once a dull gray mess, now gleams jet-black after a quick restore. Bumpers that looked weathered pop with fresh color, turning heads at the gas station. That’s the power of reviving car trim—it’s a small fix with big impact. Whether you’re dodging sun fade or road wear, these steps deliver a finish that screams new, not neglected.
Final Thoughts: Glory That Lasts
Faded car trim doesn’t have to be your story. With these steps—clean, restore, protect, and maintain—you can revive it to stunning new glory and keep it there. It’s not about perfection; it’s about pride in your ride. Start today, and watch your vehicle’s details shine like they should. Don’t let fade win—unleash the power of restoration and drive with confidence.